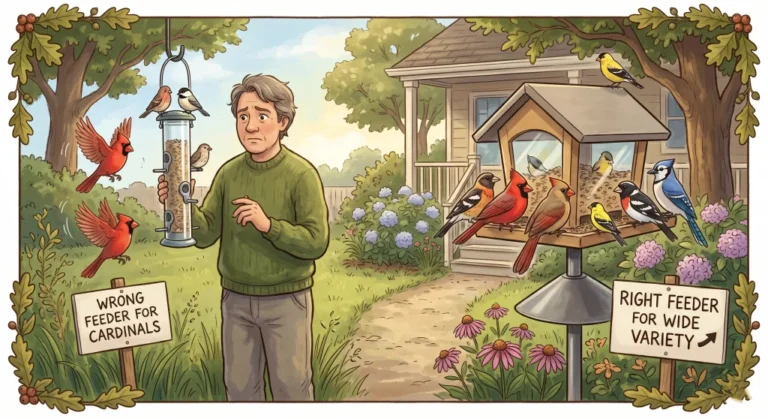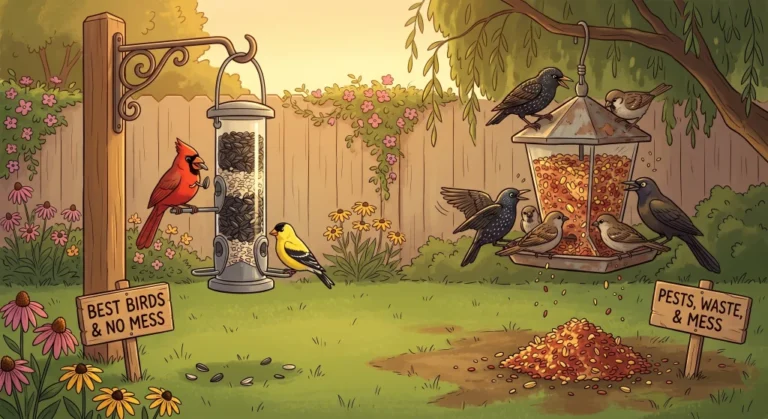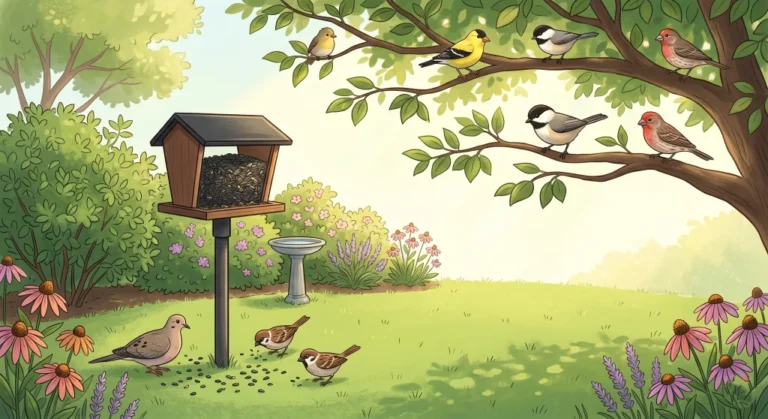
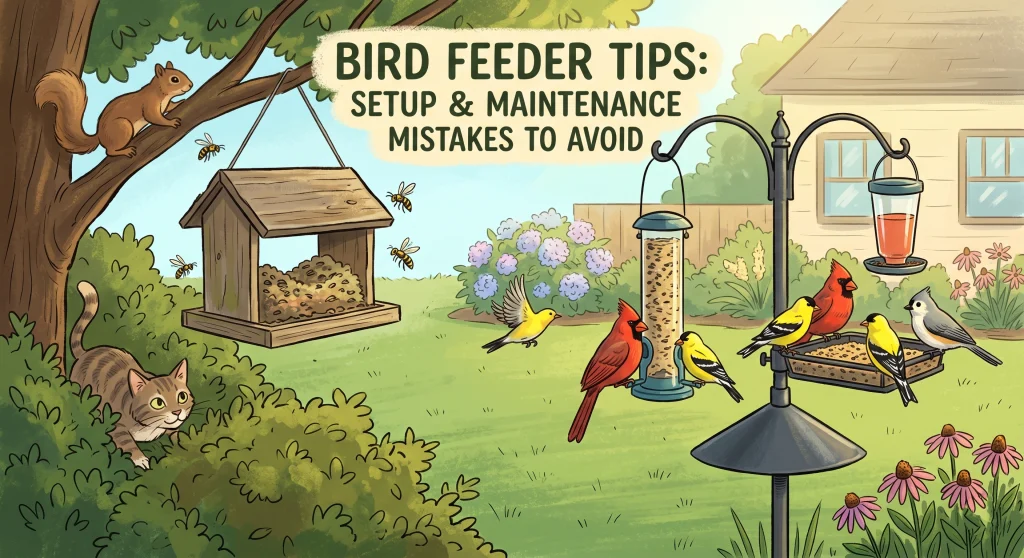
Start With Setup and Maintenance
When people ask me for bird feeder tips, they often expect a particular food to solve everything. Food matters, but it cannot correct a feeder facing reflective glass, a tray full of damp debris, or a shrub that has become a cat’s hiding place. Placement and maintenance are not the only reasons birds come and go, but they are sensible first checks because you can inspect and change them yourself.
A feeder in the middle of an open lawn may leave small birds feeling exposed. One tucked against dense ground cover may give a stalking cat an easy approach. A feeder that worked during a dry week may develop clumped food after wind-driven rain. Birds may also visit less when natural food is plentiful, during migration changes, or when the species in your area simply do not use that feeder style.
Good backyard bird feeding is an active process. I pay more attention to what changes around a feeder than to whether it looked perfect on installation day. New leaf growth can alter a flight path, a storm can force water through a port, and spilled food can build up under a busy station. Regular observation catches those changes before they become a larger problem.
Field Note: When someone told me a previously busy feeder had gone quiet, I learned to ask what had changed before recommending anything new. Wet food after a storm, fresh window reflections, and a cat waiting near the approach route were all more useful clues than the price of the seed.
A reliable setup gives birds a clear approach, a quick escape route, safer glass, and food that stays dry and fresh. The goal is not to memorize one perfect arrangement. It is to notice conditions, change one variable at a time, and keep the station clean enough to use safely.
Feeder Setup: Placement, Height, and Mounting
Placement is one of the biggest variables you can control. A useful location balances window safety, nearby escape cover, predator activity, squirrel access, weather exposure, and your ability to reach the feeder for cleaning. A convenient view from the couch is welcome, but it comes after making the glass and the approach route safer.
The familiar 3-30 window rule is a starting point, not complete protection. Placing a feeder within 3 feet of glass can reduce the speed a bird builds before a collision, but distance alone does not make a reflective window safe. Go outside and look at the glass from several angles. If it reflects sky or vegetation, cover the exterior surface with a screen, cords, or closely spaced markings across the area birds could try to fly through. A single hawk silhouette or two decorative decals leave too much open glass.
The Role of Natural Cover and Mounting
Many feeder birds use a nearby tree or shrub as a waiting area and a quick escape route. About 10 feet from cover is a practical place to start, but it is not a universal measurement. If cats wait under a low shrub, increase the open space around the feeder or choose cover with less concealment at ground level. If the feeder is exposed to strong wind with no refuge nearby, bring useful cover closer while keeping likely squirrel launch points in mind.
Beyond distance to cover, you also have to choose between hanging a feeder from a branch or mounting it on a freestanding pole. Hanging is easier, but a pole gives you complete control over placement. More importantly, a pole allows you to install a squirrel baffle. A torpedo-style squirrel baffle mounted below the feeder is the most reliable physical barrier you can use once your placement is dialed in.
Height works together with feeder design rather than assigning every species to a fixed level. A low platform may suit birds that naturally feed near the ground, but it also needs extra attention to cats, rodents, droppings, and spilled food. A pole-mounted tube feeder can sit high enough to discourage easy access while remaining low enough for you to clean without balancing on a chair. If eye level gives you a good view, use it only after checking the nearby glass and predator approach routes.

This squirrel protector has a so slippery surface that the squirrels have no grip to climb on the bird feeder. What’s more, the dirt on the baffle that placed in outdoors for a long time can be easily cleaned because of the glazed surface. Unlike other metal baffles, our PP baffle won’t rust with a terrible look in your garden. We are committed to providing you with an elegant and neat gardens, patios, porches or yards.
Check on AmazonIf you click this link and buy, we earn a commission at no additional cost to you.
Reassess Placement as Conditions Change
A feeder pole does not need to move simply because the calendar changed. It does need another look when the yard changes around it. Leaves can fill in and hide a cat, bare branches can expose a feeder to wind, growing vegetation can create a squirrel route, and lower winter sun can produce a stronger reflection on a window.
Use the conditions you can observe. In a snowy or windy period, a sheltered approach may help, provided ground cover is not concealing a predator. During hot weather, shade can slow nectar spoilage, but the feeder still needs a clear flight path and regular cleaning. After a major storm, check whether the feeder sways, leaks, or collects water before deciding that the location still works.
Key Point: Change one variable at a time and watch what happens. Moving a feeder, replacing wet food, and trimming cover on the same day may solve the problem, but it will not tell you which change mattered.
Maintenance: The Cleaning Schedule and Seed Freshness
Every bird that lands on a feeder shares surfaces with the visitors before it. Droppings, damp food, old nectar, and residue around ports can increase health risks even when the feeder does not look dramatic from a distance. A quick visual check during each refill is useful, but it does not replace regular cleaning.
For seed feeders, cleaning every one to two weeks is a reasonable baseline in ordinary conditions. Clean sooner after prolonged rain, whenever food becomes wet or musty, when droppings collect on feeding surfaces, or if a sick bird appears. Hummingbird feeders need their own rhythm: replace the sugar solution every few days and more often during hot weather, and clean the feeder at least weekly or whenever the solution clouds or residue appears.
Empty the feeder and take apart every removable piece. Scrub the reservoir, seams, ports, perches, and tray with hot water and a dedicated brush. If disinfection is needed, use an appropriately diluted bleach solution and follow the feeder maker’s material instructions, then rinse every surface thoroughly. A hose rinse can remove loose debris, but it cannot scrub residue from a seam or blocked port.
The Complete Air-Dry Rule
The last damp pocket is usually hidden in a seam, under a tray, or around a port. A towel may dry the broad surfaces while missing those tight spaces. Refilling too soon puts dry food directly against trapped moisture, so let every part air dry on a clean rack before reassembly.
Sunlight is helpful when the material tolerates it, but complete drying matters more than putting the feeder in a particular spot. Rotate enclosed pieces so water can drain, check the corners, and keep a second feeder available if you want to maintain service while the first one dries.
Checking the Source
If clean feeders repeatedly receive musty or clumped food, inspect the supply before blaming the feeder. Store food in a cool, dry place inside a sealed container, and avoid pouring a new bag on top of dusty remnants from the old one. Check for condensation, insects, webbing, off odors, or clumps before every refill. Empty and clean the container whenever residue or moisture appears, then let it dry completely before adding fresh food. Buying an amount your birds can use while it is still fresh is often more effective than storing a large bargain bag in a humid garage.

The IRIS USA storage container provides a compact way to store bird seed, pellets, and other dry pet food. Its airtight seal and snap-lock latch help protect the contents from moisture while the BPA-free container is designed for regular food storage. The included 2-cup scoop makes measuring seed and refilling backyard feeders more convenient.
Check on AmazonIf you click this link and buy, we earn a commission at no additional cost to you.
Pest Insects: Managing Ants, Bees, and Wasps
Ants, bees, and wasps usually arrive because nectar is accessible outside the feeding ports. Leaks, drips, sticky seams, and an overfilled reservoir make the feeder easier for insects to find. The safest response is to remove that access with physical barriers and better feeder management, not pesticides or sticky coatings.
Stopping the Ant Trail
Ants leave a chemical trail that helps other ants reach the same food. A water-filled ant moat installed above a hanging feeder interrupts that route without putting chemicals near the nectar. Keep it filled with plain water and clean out debris that creates a bridge across the surface.
In hot, dry weather, check the moat daily because a shallow cup can evaporate quickly. A larger-capacity moat or a location protected from the strongest afternoon sun can reduce how often it runs dry. Do not add cooking oil to slow evaporation. Oil can spill or transfer to feathers, and plain water is the intended barrier.
Warning: Never coat a feeder pole, hanger, or moat with cooking spray, petroleum jelly, or grease. These substances can transfer to feathers and interfere with the insulation and water resistance birds depend on.
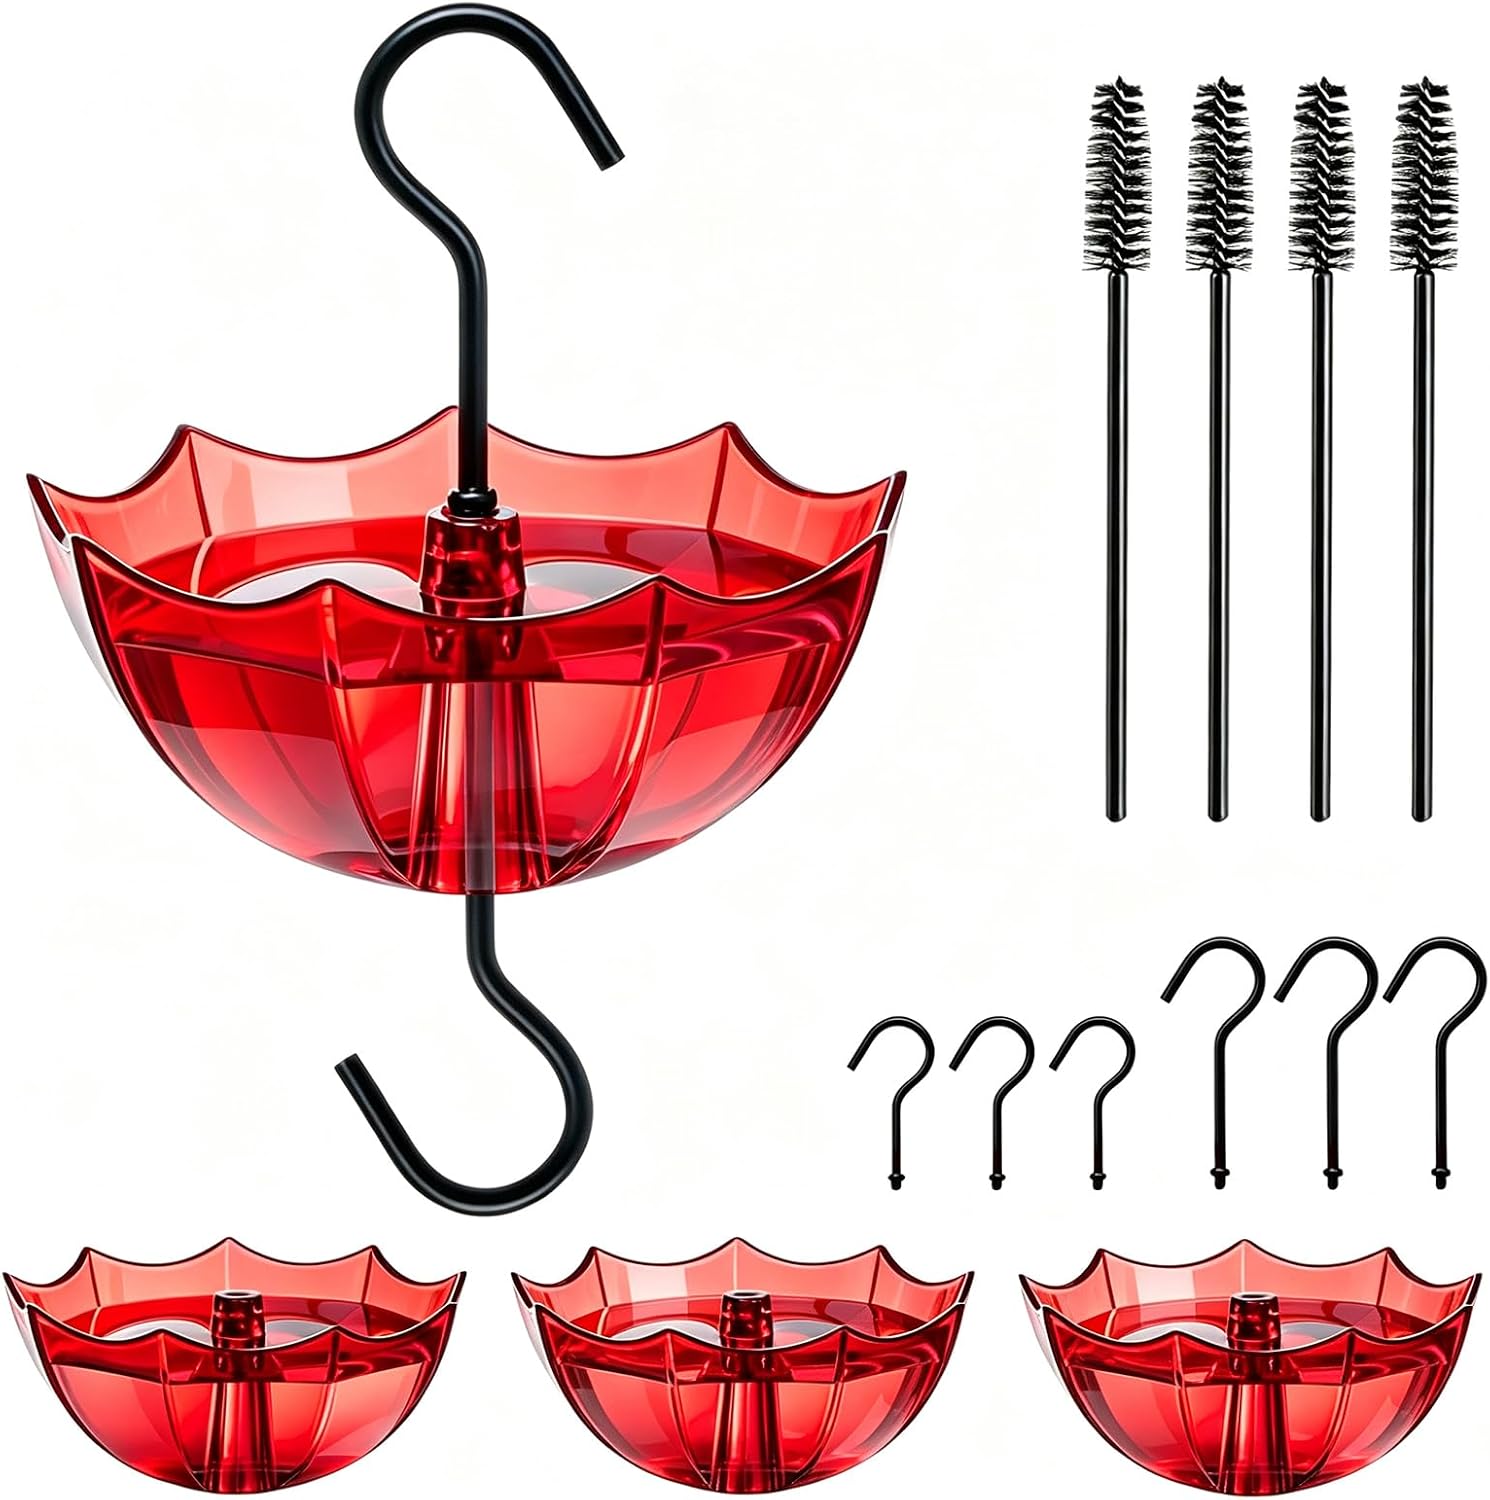
Large Capacity: Each moat cup measures 3.94 inch / 100 mm in diameter, capacity up to 5 oz, even big ants can keep out. Clear Cup: It is transparent enough to give a visual on the water level.
Check on AmazonIf you click this link and buy, we earn a commission at no additional cost to you.
Reduce Leaks and Redirect Bees Safely
Bees and wasps can crowd the feeding ports and discourage hummingbirds, but insecticides do not belong near nectar. Start by cleaning drips from the outside, checking seals, and reducing the fill level if expansion in the heat pushes liquid through the ports. A saucer-style feeder keeps the nectar below the openings and is often less accessible to insects than an inverted reservoir that leaks under pressure.
Moving the feeder can be worth trying, but there is no magic three-foot distance and no guarantee the insects will abandon it. Move it after insect activity drops, keep it within an easy flight path for hummingbirds, and monitor both the old and new locations. If insects continue to dominate, take the feeder down for a day or two, clean it, correct any leak, and put it back without leaving exposed nectar nearby.
Seed Problems: Wet, Clogged, and Sprouting
When food clumps, sprouts, or stops moving through the ports, the bag is not always the main problem. Rain entry, poor drainage, overfilling, humidity, and food that birds repeatedly toss aside can all contribute. This section focuses on managing those conditions rather than choosing particular seed types.
Feeder Drainage and Clumping
Solid clumps at the bottom usually mean water entered faster than it could drain or the food remained in humid conditions too long. Check the drainage holes for hulls and debris, then inspect ports, seams, and the lid for the path water used. A screen bottom or weather cover can help, but neither replaces a dry location and regular inspection.
Discard food that is wet, musty, moldy, or stuck into damp clumps. Do not bake it dry or mix it into a fresh supply. Empty the feeder, scrub it, clear the drains, and let it dry completely before refilling.
Match the Fill Level to Actual Use
Feeder traffic changes with species, region, weather, migration, and the amount of natural food available. Instead of filling to the top by habit, watch how much disappears before it becomes stale or gets caught in rain. During a quiet or wet period, one-quarter or one-half capacity can be a useful starting point. Increase the amount only when birds are clearing it while it remains fresh.
Check the ground and catch tray at the same time. A layer of discarded food and hulls can hold moisture, attract rodents, and concentrate droppings beneath a busy station. Sweep or rake the area regularly, and reduce the amount offered if most of it is landing below rather than being eaten.
What Sprouting Actually Tells You
Sprouting means viable whole food reached enough moisture to germinate. Some inexpensive mixtures contain grains that many backyard birds toss aside, so they can create a noticeable patch of growth. However, whole sunflower and safflower can sprout too. New shoots do not prove that the entire bag was poor quality.
Hulled food cannot germinate because the viable seed structure has been removed, but it can still spoil when wet and may need more protection from weather. To reduce unwanted growth, offer an amount birds can finish, clear discarded food from trays and soil, improve rain protection, and consider a catch tray. Treat sprouting as a clue about spillage and moisture, not as a complete quality test.
Final Thoughts: Active Management Beats Passive Waiting
Setting up a bird feeder is easy. Keeping it safe and dependable means checking what has changed around it. Move the pole if a cat develops a hunting route, discard wet food rather than trying to rescue it, treat reflective glass from the outside, and clean on a schedule that responds to weather and feeder traffic.
A quiet feeder does not automatically mean you failed. Natural food, migration, local species, and nearby disturbances can change visits even when your setup is sound. Inspect the station, correct one likely problem, and give birds time to respond. That approach is slower than a miracle trick, but it gives you useful information and a healthier feeding area.

This 10-pound no-mess wild bird seed blend is made with 100% edible ingredients to reduce hulls, waste, and cleanup beneath feeders. The mix includes sunflower hearts, peanuts, tree nuts, pumpkin seeds, raisins, and papaya to attract cardinals, chickadees, finches, grosbeaks, woodpeckers, and other backyard birds. It works with tube, hopper, tray, platform, and other common outdoor feeders and is a practical choice for cleaner feeding areas.
Check on AmazonIf you click this link and buy, we earn a commission at no additional cost to you.
Detailed Guides for Setup and Maintenance
Because backyard conditions differ, the right fix depends on the problem you can actually observe. Whether you need to choose a workable pole height, clean a stubborn mold problem, or keep ants away from nectar, these detailed guides take each task further.
| Topic | What It Covers |
|---|---|
| How to Set Up a Bird Feeder | How to balance placement, usable pole height, window safety, cover, and predator activity. |
| How to Clean a Bird Feeder | Cleaning methods, practical schedules, and material-aware care for common feeder designs. |
| Bird Feeder Seed Problems | How to handle clumping, sprouting, and wet seed, including managing fill levels during bad weather. |
| Ants in Your Bird Feeder | Water moats and other physical barriers that interrupt ant trails without oils or sticky coatings. |
| Bees and Wasps at Your Hummingbird Feeder | Leak control, feeder design, and relocation options for reducing bee and wasp pressure. |
| Mold in Your Bird Feeder | How to remove established mold and correct the moisture conditions that allowed it to return. |
| Winter Bird Feeder Care | Setup adjustments and feeding schedules specifically designed to handle freezing temperatures and heavy snow. |
| Bird Feeder Predators | Physical deterrence strategies to protect your feeders from mammals like squirrels and raccoons, and avian predators like hawks. |
Pro Tips: If you are completely new to this, start by getting your physical location right first in our setup guide. If you are reading this because you already have insects swarming your yard, head straight to the ant control or bee and wasp management guides.
To learn more about the equipment itself, check out our breakdown of different bird feeder types, or explore exactly what to put inside them in our best bird seed guide.
FAQs
🪟 Why do birds keep flying into the window near my feeder?
Distance alone does not make reflective glass safe. Look at the window from outside and cover the exterior surface with a screen, cords, or closely spaced markings. Placing a feeder within 3 feet can reduce the speed of a collision, but treating the glass is the more dependable step.
🧼 How often do I really need to clean my bird feeder?
Clean seed feeders every one to two weeks as a baseline and sooner after prolonged rain, visible contamination, or a sick bird. Clean hummingbird feeders at least weekly, replace the sugar solution every few days, and shorten both intervals during hot weather or whenever the solution turns cloudy.
🌧️ What should I do if the seed in my feeder gets wet?
Throw it away. Wet seed begins to rot and grow mold very quickly. Do not try to dry it out or mix it with fresh seed, as you will just contaminate the new batch.
🐜 Is it safe to put cooking spray on a pole to stop ants?
No. Spray, grease, and petroleum jelly can transfer to feathers and interfere with their insulation and water resistance. Use an ant moat filled with plain water, and refill it whenever evaporation lowers the level.
🌱 Why are plants growing out of my feeder tray?
Sprouting happens when viable whole food falls into a damp tray or onto moist soil. Discarded grains can make the problem more noticeable, but sunflower and safflower can germinate as well. Reduce spillage, clear the ground, and keep the feeder dry. Hulled food will not sprout, although it can still spoil when wet.
🐈 How far should a feeder be from bushes?
About 10 feet from useful cover is a reasonable starting point, not a fixed rule. Increase the open space if cats stalk beneath low shrubs, and adjust for squirrel launch points, wind exposure, and the way birds approach your particular yard.
🐝 How do I get bees off my hummingbird feeder without hurting them?
Clean leaked nectar, check the seals, and consider a saucer-style feeder that keeps nectar below the ports. You can also move the feeder after insect activity drops, but there is no exact distance that guarantees success. If pressure continues, take it down for a day or two, clean it, and correct any leak before rehanging it.